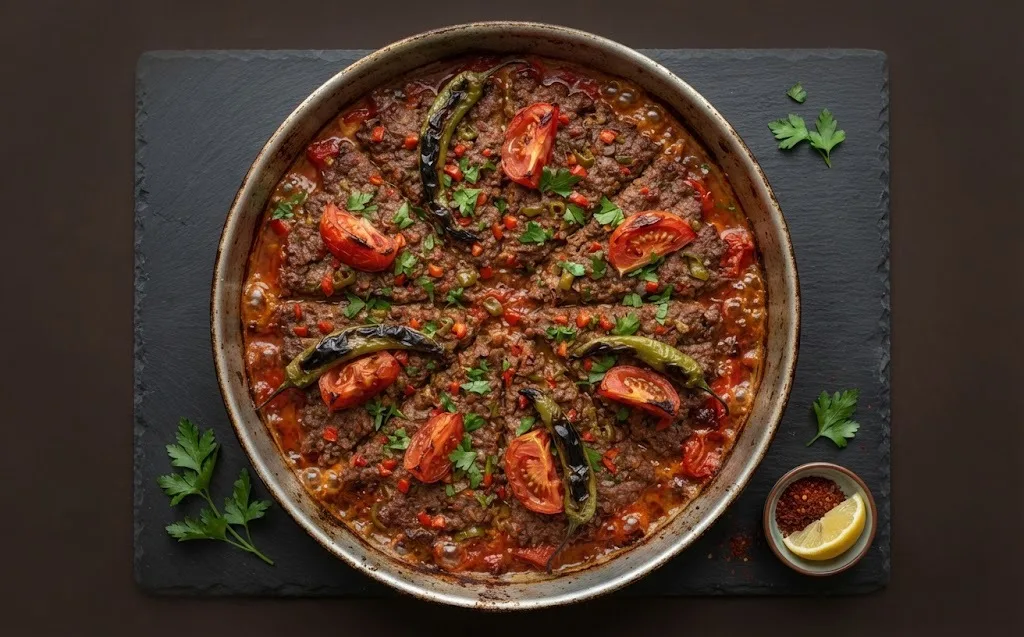
In Antakya and across Hatay province, home cooks once carried this dish through the streets: a round metal tray — tepsi — of spiced beef mince pressed flat by hand, studded with tomato and pepper, handed to the neighbourhood baker to cook in the bread oven's leftover heat. Tepsi kebabı is kebab as casserole: no skewers, no shaping, no grill. The mince is worked with garlic, parsley, and chopped peppers (many Hatay cooks knead in biber salçası too) until nearly a paste, so it bakes into one sliceable slab instead of crumbling, while the vegetables on top roast and drip into it. Cut into wedges before baking and served straight from the tray, it feeds a whole table from one pan and reheats better than any grilled kebab. Any oven replaces the bakery; the only real technique is kneading the meat thoroughly and keeping the layer thin.
Also known as: Sini Kebabi, Tray Kabob, Baked Kebab, Turkish Meatloaf
Reference video
Reference video, embedded from YouTube: filmed by Ottomans Kitchen, not by How To Make A Kebab, and not owned, relicensed or distributed by this site.
View Original Video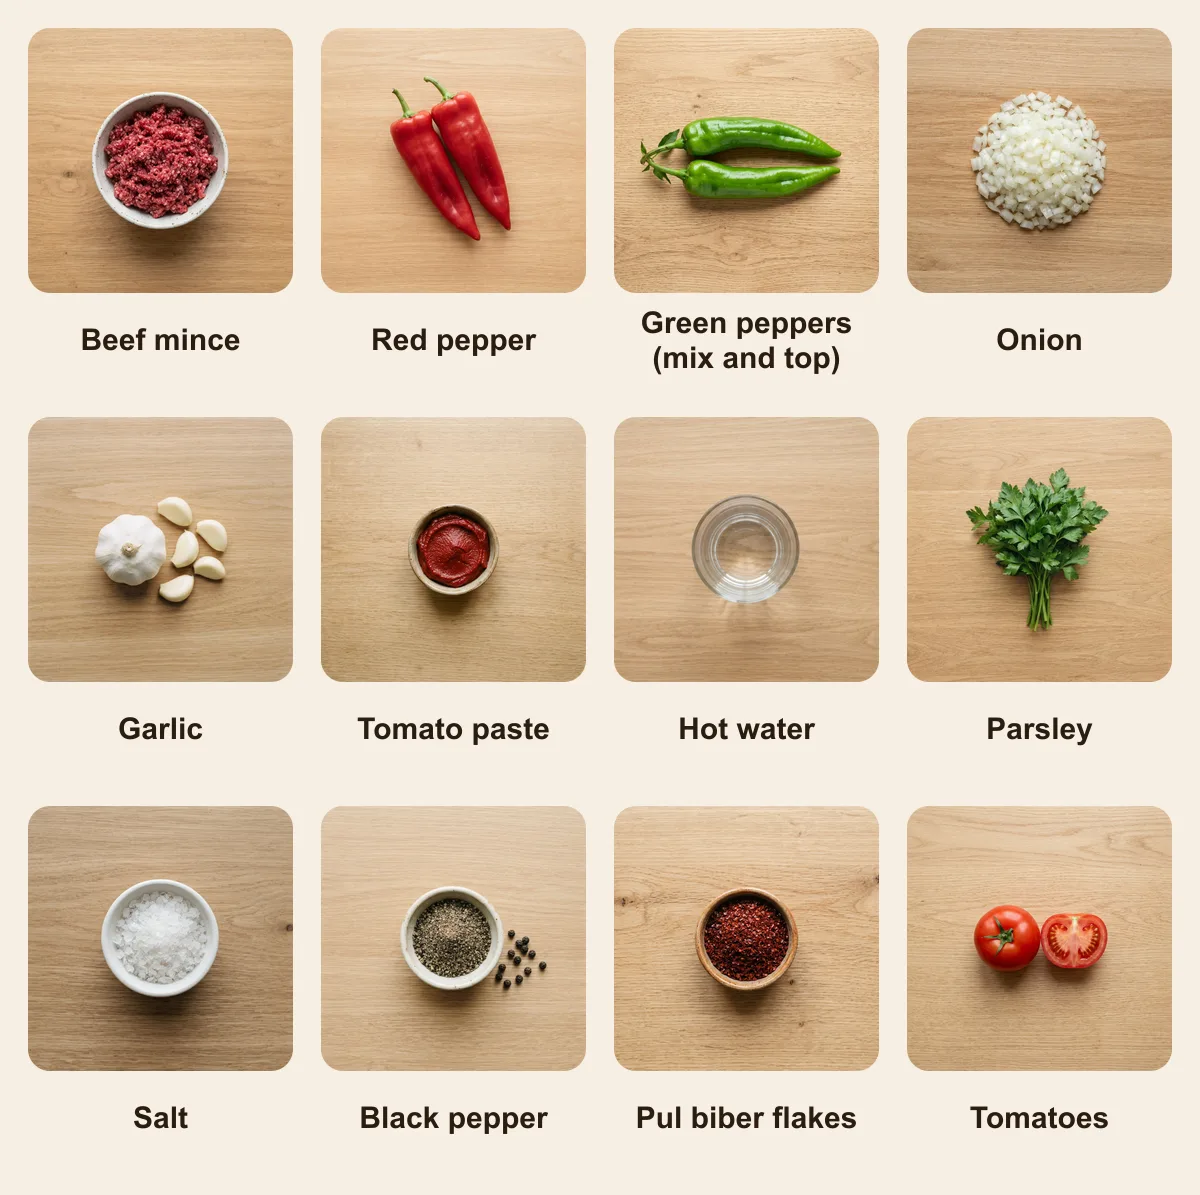
Ingredients
- 500g Minced Beef (Medium Fat)
- 1 Red Pepper & 1 Green Pepper (Finely chopped)
- 1 Onion & 2 Garlic Cloves (Minced)
- 1 tbsp Tomato Paste dissolved in 1 cup Hot Water
- 3 tbsp Parsley (chopped)
- 1 tsp Salt, 1/2 tsp Pepper, 1 tsp Pul Biber
- 2 Tomatoes & 2 Green Peppers (Wedges, for the top)
How To Make Tepsi Kebabi
-
1
In a large bowl, combine the minced beef with the chopped red and green pepper, onion, garlic, parsley, salt, pepper, and pul biber. Knead with your hands until the mixture turns smooth and almost paste-like, so it bakes into one slab instead of crumbling.
-
2
Grease a round metal tray and press the meat mixture into it with your palms, covering the entire bottom in an even layer 1-2cm thick.
-
3
While the meat is still raw, cut the layer into wedges like a pizza, running a knife from the centre out to the rim of the tray.
-
4
Arrange the tomato and green pepper wedges over the top, pressing them lightly into the meat.
-
5
Pour the tomato paste dissolved in hot water evenly over the tray so it runs into the cuts between the wedges.
-
6
Bake in an oven preheated to 200°C (400°F) for 30-40 minutes, until the meat has shrunk from the sides of the tray and the juices around it are sizzling.
Note: Ideally sent to the neighborhood bakery wood oven, but works great in home oven.
Go Deeper · the full story
About this recipe
Tepsi kebabı belongs to the tray-baked branch of the kebab family — no skewer, no open flame, no grill marks. The mince goes into a metal tray, gets pressed flat, and bakes as one slab, which puts it closer to a savory meatloaf than to a köfte skewer, even though the seasoning (garlic, parsley, pul biber) sits firmly in kebab territory.
This recipe builds it with minced beef, peppers, onion, and garlic kneaded together and pressed into a tray one to two centimetres thick. The wedge cuts go in before baking, not after, so the tray comes out already portioned; tomato and pepper wedges sit on top, and a watered-down tomato paste is poured over before the 200°C bake.
Why this recipe works
Why This Recipe Works
- Cutting the wedges before baking, not after, means the tray comes out already portioned and the sauce reaches into every cut, instead of sitting only on the surface.
- Keeping the layer to one or two centimetres thick lets the 30-40 minute bake cook the meat through in the same time the tomato and peppers on top need to roast and collapse.
- Pouring watered-down tomato paste over the meat before baking bastes it as it cooks, which is why the dish needs no separate sauce.
How to serve it
Serving Notes
Cut and serve straight from the tray — tepsi kebabı is meant to be family-style, with everyone pulling a wedge.
Pair with plain rice or bulgur pilaf to soak up the tomato drippings.
It reheats well covered in a low oven, unlike a grilled kebab, because the dish is built to be a moist, sauced slab.
Common mistakes to avoid
Common Mistakes
- Pressing the mince too thick — anything past two centimetres won't cook through in the 30-40 minute window without scorching the top.
- Cutting the wedges after baking instead of before — the tray tears instead of releasing clean portions.
- Skimping on the parsley and garlic — with 500g of beef, two garlic cloves and three tablespoons of parsley are what keep the slab from tasting flat under the tomato sauce.
- Pouring the tomato sauce on too thick — it should be watered down; a heavy layer steams the top of the meat instead of glazing it.
Frequently Asked Questions
Can I use lamb instead of beef in tepsi kebabı?
Yes — this recipe is built around minced beef, but lamb mince works with the same method; keep the fat content similar so the slab doesn't dry out or turn greasy.
Why cut the meat into wedges before it's cooked?
It's a tray-baked dish, not a skewered one, so the wedge cuts have to go in before baking to portion the slab cleanly once it's done.
Does tepsi kebabı need a wood oven?
No — it bakes at 200°C in a home oven; a bakery wood oven is the ideal, but a home oven works great.
How is tepsi kebabı different from a meatloaf?
The seasoning and the flat, wide tray shape are what separate it — it's cut into wedges rather than sliced, and the tomato-and-pepper topping bakes on rather than getting added after.
Sources and further reading
- Kebab — Wikipedia
- Antakya — Wikipedia
- Tray Kebab, Antakya Style - Tepsi Kebabi — Özlem's Turkish Table
- Tepsi Kebap — The Splendid Table
Keep Cooking
Build The Full Plate
Technique And Support Guides
Best Meat For Kebab
Choose the best meat for kebab by fat ratio, cut, grind, and cooking style, whether it ends up on a skewer, in a wrap, or on a plate.
How To Keep Kebab On The Skewer
Learn how to keep kebab on the skewer with the right fat level, onion handling, kneading, skewer shape, and grill timing.
How To Cook Kebab In The Oven
Learn how to cook kebab in the oven with better browning, broiler timing, pan setup, and moisture control for minced and chunked kebabs.
Metal Vs Wooden Skewers For Kebab
Understand when to use metal or wooden skewers for kebab, plus why flat skewers matter for minced kebab and how oven use changes the choice.
Related Recipes
Adana Kebab
The spicy gold standard of Turkish BBQ. Hand-minced lamb with tail fat.
Urfa Kebab
Adana's non-spicy sibling. Deep flavor from smoky isot pepper.
Iskender Kebab
Doner meat over chopped pide, topped with tomato sauce and sizzling butter.
Cag Kebabi
The horizontal ancestor of Doner. Marinated lamb slices on a wood fire.